Introduction
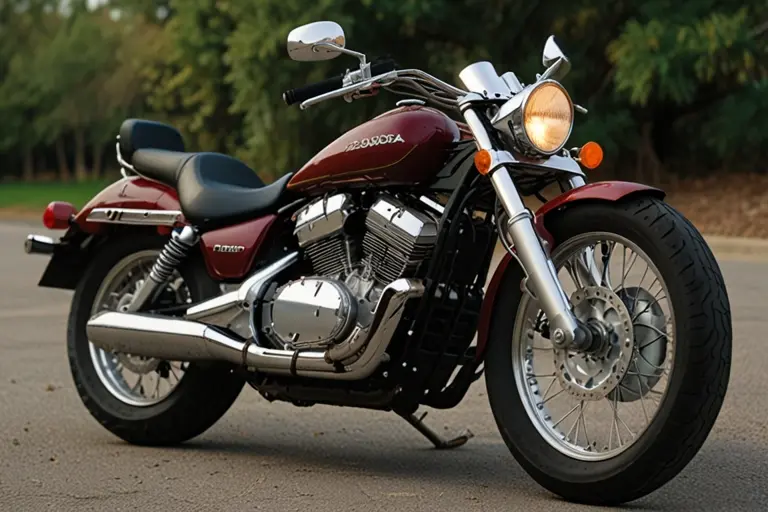
The 1999 Honda Magna creates love among biking enthusiasts by offering vintage styling, quiet driving, and high engine performance. All vehicles operate efficiently because they depend on fuel tanks, which serve as essential systems for biking functionality. The normal operational cycle of your fuel tank leads to deterioration and eventual rusting before potentially complete leakage occurs.
A fuel tank replacement becomes essential whenever these specific events happen. In this article, we will walk you through the 1999 Honda Magna Fuel Tank Replacement process, providing all the necessary steps, tips, and maintenance advice to ensure a smooth replacement process and a long-lasting fuel system for your motorcycle.
Why You Might Need a 1999 Honda Magna Fuel Tank Replacement
The fuel tank on your 1999 Honda Magna Fuel Tank Replacement may need to be replaced for several reasons. The main reason why a 1999 Honda Magna Fuel Tank Replacement occurs is due to rust or corrosion. Repeated exposure to water with dirt and fuel additives will deteriorate metal surfaces by producing rust that creates holes or breaks inside the fuel tank. Bike safety becomes threatened when fuel seeps from cracked areas of the tank.
When you discover any fixable damage, such as cracks or dents, a fuel tank needs replacement. Signs that your fuel tank needs an exchange include malfunctioning fuel lines and ineffective fuel filter performance.
Understanding the 1999 Honda Magna Fuel Tank Replacement
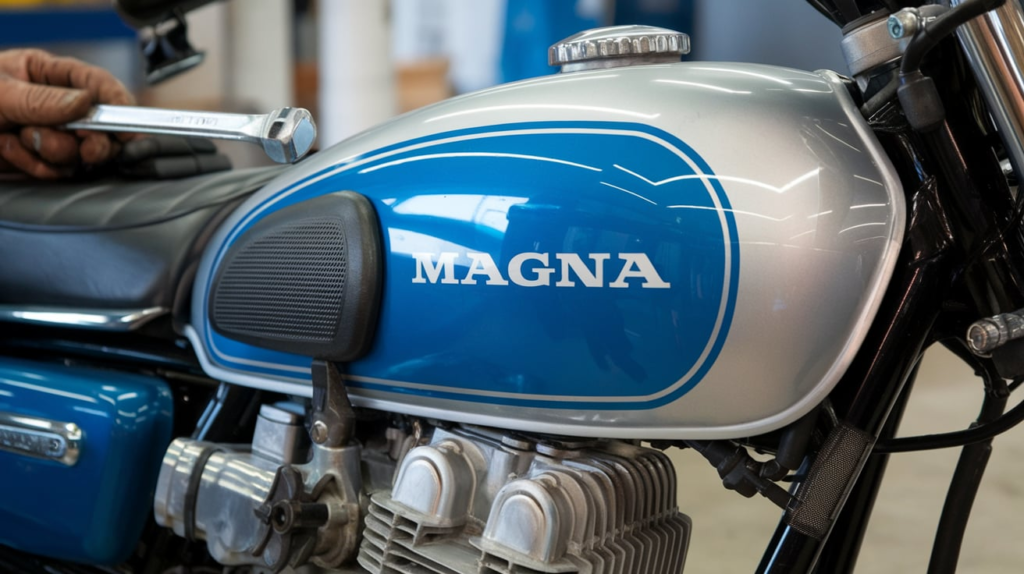
Before diving into replacing the fuel tank, it’s essential to understand the basic structure and function of the 1999 Honda Magna Fuel Tank Replacement. The tank interior contains engine fuel made from steel or aluminum. Regular use does not affect the tank because of its resistant structure yet prolonged usage can lead to structural deterioration and puncture development in the fuel tank.
The fuel tank operates by joining elements with fuel lines and the fuel pump unit to move suitable fuel supplies to the engine. Correct fuel tank part installation and proper component connection prevent system failures and leaks.
Steps for 1999 Honda Magna Fuel Tank Replacement
The 1999 Honda Magna fuel tank replacement is moderately challenging when performed with proper attention to detail. The following step-by-step guide will help you successfully complete the process.
Prepare the Tools and Workspace
You need to begin replacement tasks by obtaining your essential tools before continuing. To replace mounting straps, you need wrenches, screwdrivers, a fuel line disconnect tool, and a socket set, with the possibility of using a fuel tank strap kit. A workspace with sufficient lighting and dryness must have a motorcycle stand to provide safe conditions when performing replacement tasks.
Drain the Fuel from the Tank
Your first priority should be complete fuel drain from the tank because fuel leakage can lead to hazardous fire situations. A fuel discharge begins by disconnecting the fuel lines until liquid fuel completes the selected storage container. The disposal process of tank fuel needs authorized shipping containers for any fuel tank that suffers rust-related damage or demonstrates rust conditions.
Remove the Seat and Tank Covers
and the Seat components together with the Tank Covers.
The 1999 Honda Magna fuel tank, as well as other motorcycles, possesses protection from fuel leaks under its seat and plastic cover system. A screwdriver enables drivers to remove seat and tank cover retaining screws or bolts. After removing all system components, the fuel tank can be accessed easily.
Disconnect the Fuel Lines
A fuel tank replacement requires complete disconnection of all fuel lines from their positions on the tank. A fuel line disconnect tool safeguards the components from damage during the removal of the lines. Write down connection details since they must be restored to the new fuel tank.
Remove the Mounting Bolts
When the fuel lines disconnect, it becomes possible to locate the bolts which anchor the fuel tank to the motorcycle frame. Bolts are, bolts are at the edges of each side to secure the tank. These specific bolts require a wrench combination with one of its implements and socket set for removal. The bike design demands the detachment of straps that secure the fuel tank to its frame. When you detach all mounting bolts, the tank can move freely from its frame position.
Install the New Fuel Tank
The first step after removing the original fuel tank requires starting tank installation. Please insert the new tank into position on the mounting brackets until it reaches the correct placement. If necessary, install new tank straps before you complete the tightening procedure for the restraint system. During mounting bolt reconstruction, the tank will preserve safety and stability.
Reconnect the Fuel Lines
Proceed to link Y before connecting the fuel lines between matching ports on the new tank. Double-check all fuel line junctions until they reveal total tightness and leak-free condition. A fuel leak from your system must always be prevented as it causes both major system damage along with security risks.
Test the Fuel System
Completion of the fuel system test requires an immediate engine start before finishing the installation work. Run the engine to look for leaks from the tank area, its linked lines, and joints. There is no reason to stop the assembly because you observed no visible problems during an inspection.
Reassemble the Bike
After working, complete the reinstallation of each removed plastic cover and seat. The work should end with an inspection to validate the complete tightness of all components. Check that all components are in place, and give the bike a final inspection to ensure that the 1999 Honda Magna Fuel Tank Replacement was done correctly.
Tips for Maintaining Your New Fuel Tank
After replacing the device, you must perform the fuel tank service correctly to prevent new difficulties in your 1999 Honda Magna model. Here are some tips to keep your 1999 Honda Magna Fuel Tank Replacement in good condition:
Regularly Inspect for Leaks: Always check your fuel tank for any signs of leakage or rust. Small fractures will naturally emerge so you need to detect them early to stop larger damage from taking place.
Use High-Quality Fuel: High-quality fuel should always be chosen for your fuel tank because low-grade fuel includes erratic particles and sediment pieces that build up inside the tank. Hiring quality tank fuel improves tank cleanliness, thereby reducing blocked fuel routes.
Clean the Tank: Regular cleaning of the gasoline tank’s internal compartment is necessary for optimal performance. Dust accumulation alongside the corrosion process surfacing in your bike diminishes its operational efficiency. The purity of fuel tanks allows fluid movement without interruption, thus enhancing engine working performance.
Protect Against Corrosion:Areas with harsh weather or high humidity should be protected from fuel tank corrosion by installation of fuel tank liner or coat.
Inspect Fuel Lines Regularly: You should visually inspect the fuel lines that link the tank to perform early detection of wear damage or cracking. Replacements of damaged sections are needed to stop the fuel leaks.
Conclusion
You can successfully replace the 1999 Honda Magna Fuel Tank with proper knowledge along with the correct equipment yet simple procedures. Using the step-by-step instructions alongside safety procedures allows you to install a new fuel tank atop your old one, thus getting your bike ready for road use. The efficiency of your 1999 Honda Magna depends on proper fuel system maintenance through regular maintenance procedures.